Quick start
This page walks through the setup from first launch to a live display on a second screen.
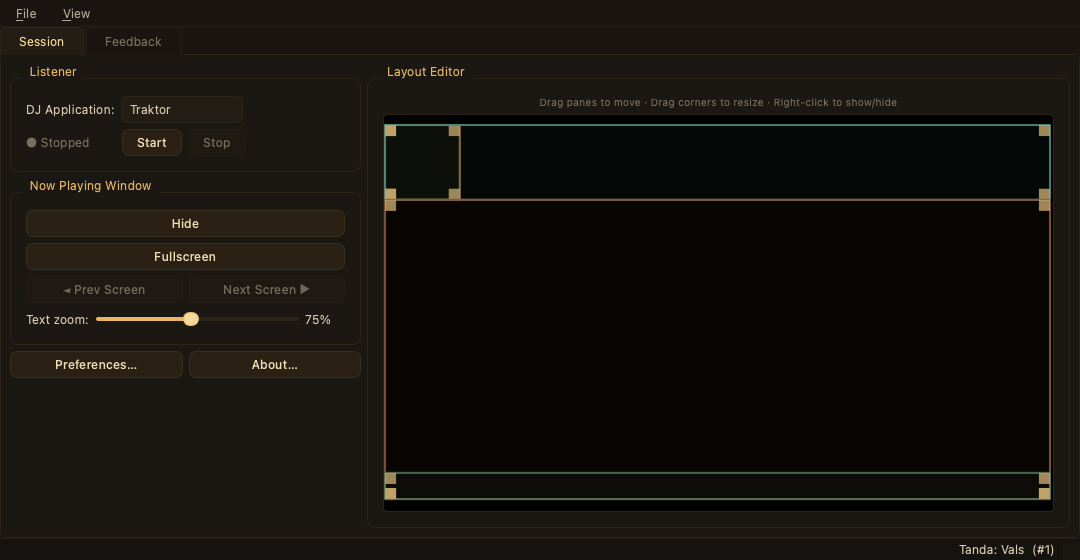
The control window has three tabs, one for each phase of the evening:
| Tab | When you use it |
|---|---|
| Setup | Before the milonga — event details, DJ application, tanda cycle, screen, and layout. |
| Live | During the milonga — overlays for the display and live match correction. |
| Milongas | After (or between) events — browse, edit, and export your recorded sessions. |
First launch? A short setup wizard opens automatically the first time you run Milonga, covering the language, DJ application, and tanda cycle. You can re-run it any time from File → Run Setup Wizard…
Step 1 — Enter your event details
On the Setup tab, open the Event sub-tab and fill in:
| Field | Example |
|---|---|
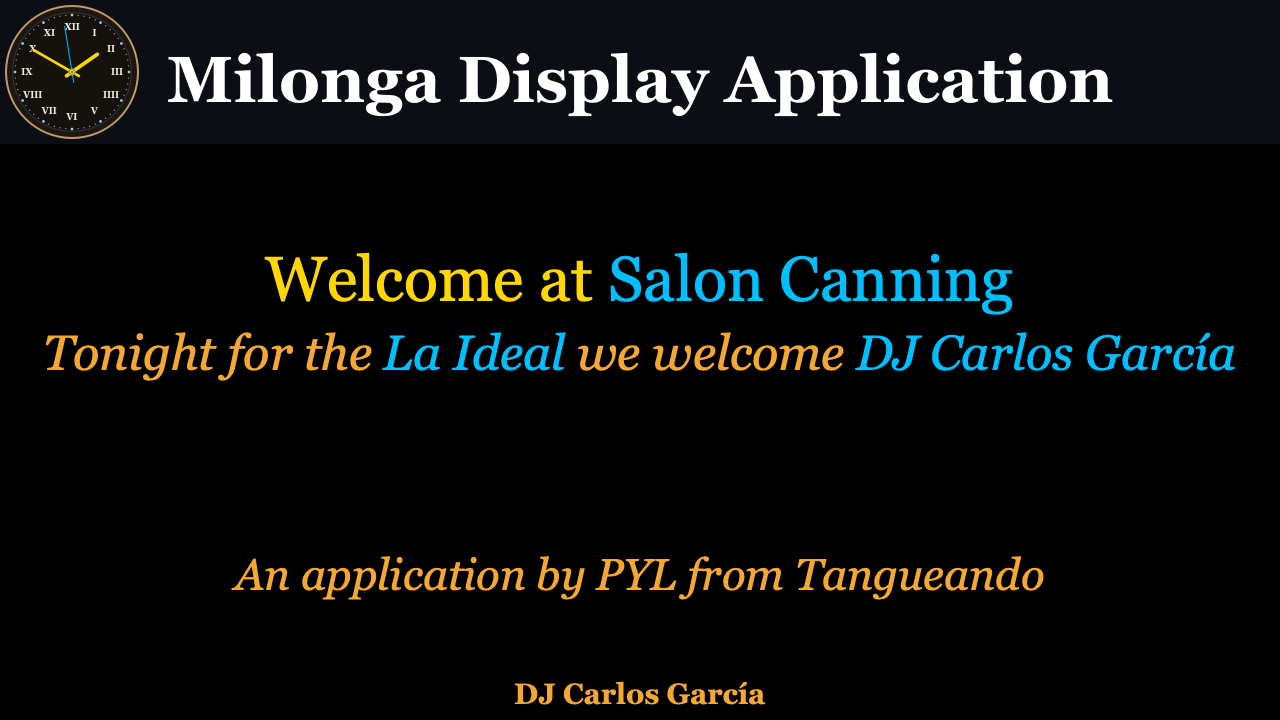
| TDJ name | Carlos García |
| Venue | Salon Canning |
| Milonga name | La Ideal |
The changes apply immediately — the display window updates its welcome message as you type:
Step 2 — Configure your DJ application
Still on Setup → Event, use the DJ Application group to pick your software.
Traktor
Milonga connects to Traktor via the traktor-nowplaying broadcast (a companion tool bundled with the app). The default TCP port is 8000 — change it if Traktor and Milonga are on different machines.
Optionally, export your Traktor collection as HTML and import it here (Use Traktor Metadata) so dates, genres, and file paths from your own library corroborate matches.
VirtualDJ
No extra configuration is needed. Milonga auto-detects VirtualDJ's history directory and starts listening as soon as you select VirtualDJ.
Step 3 — Start the listener
In the DJ Application group, click Start. The status indicator (in the group and in the status bar at the bottom of the window) turns cyan and shows the running application.
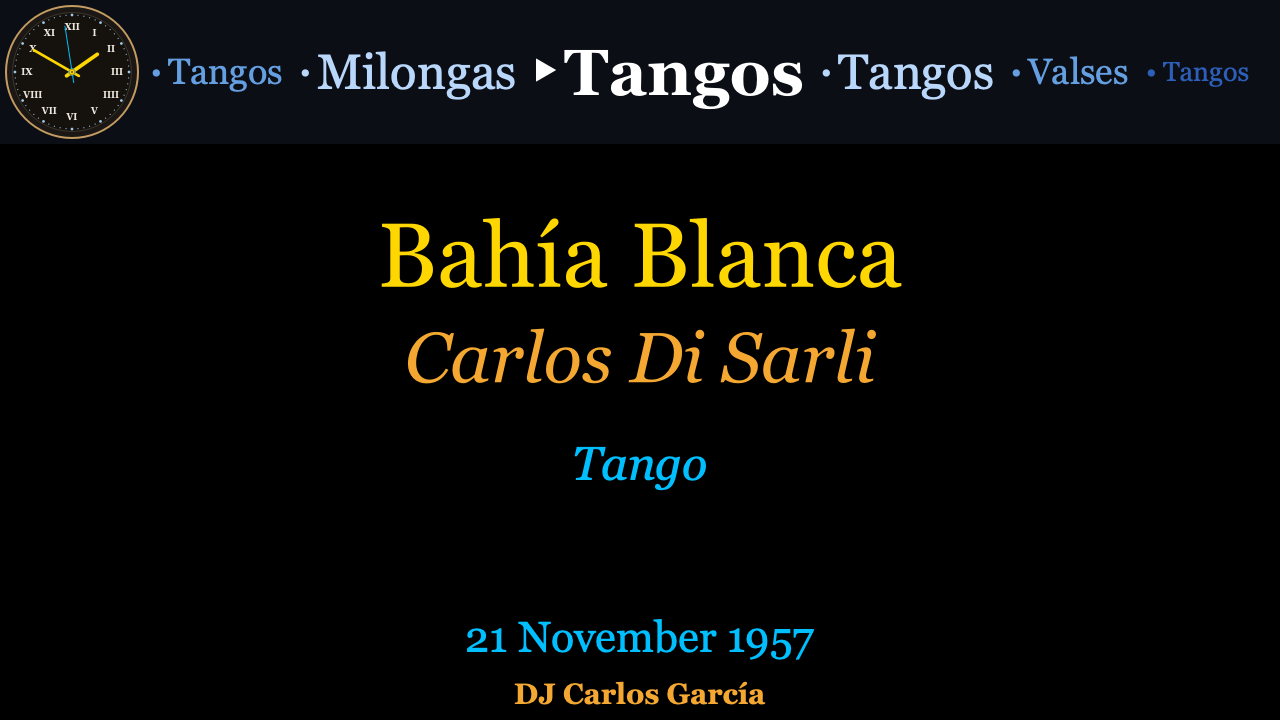
Play a track in your DJ app — the display window should update within a second or two:
Step 4 — Move the display to the second screen
Open the Setup → Display sub-tab. In the Now Playing Window panel:
- Click Next Screen to move the display window to your projector or second monitor.
- Click Fullscreen to fill the screen.
Use Show Mini View in the Local Preview panel to keep a small mirror of the display on your own screen while the real one is on the projector.
The display is ready for the floor.
Step 5 — Adjust the layout (optional)
Open the Setup → Layout sub-tab. Drag and resize the five display panes in the editor:
- Clock — analog clock (always square).
- Carousel — tanda cycle strip showing the current genre and what comes next.
- Track — title, orchestra, singers, year, and genre.
- Artwork — cover art for the current track (orchestra photo or embedded album art).
- DJ name — TDJ name banner at the bottom.
Changes apply to the display window in real time. Right-click any pane to hide it, and save arrangements you like as named Presets.
During the milonga — the Live tab
Once tracks are playing, the Live tab is where you work:
- Display Overlays — one-click buttons to black out the screen (Blackout), show the last tanda, jump back to the Current Track, or bring back the Welcome Message.
- Correction — the lookup history with scored candidates. Click a candidate to push the right recording onto the display instantly. See Matching & correction.
Everything you play is recorded automatically — review it afterwards on the Milongas tab. See Recording & statistics.
Next: The display window · Matching & correction · Configuration reference